


REFINED I
Description
What's included
Software
Over 20,000 Presets sold
Free Upgrades
24/7 Support
Also available:

REFINED I Mobile
Mobile Lightroom Mobile App
$55.00
Out of stockAbout the Creator
Marta Locklear
Difference Between R1, R2 & R3
REFINED I
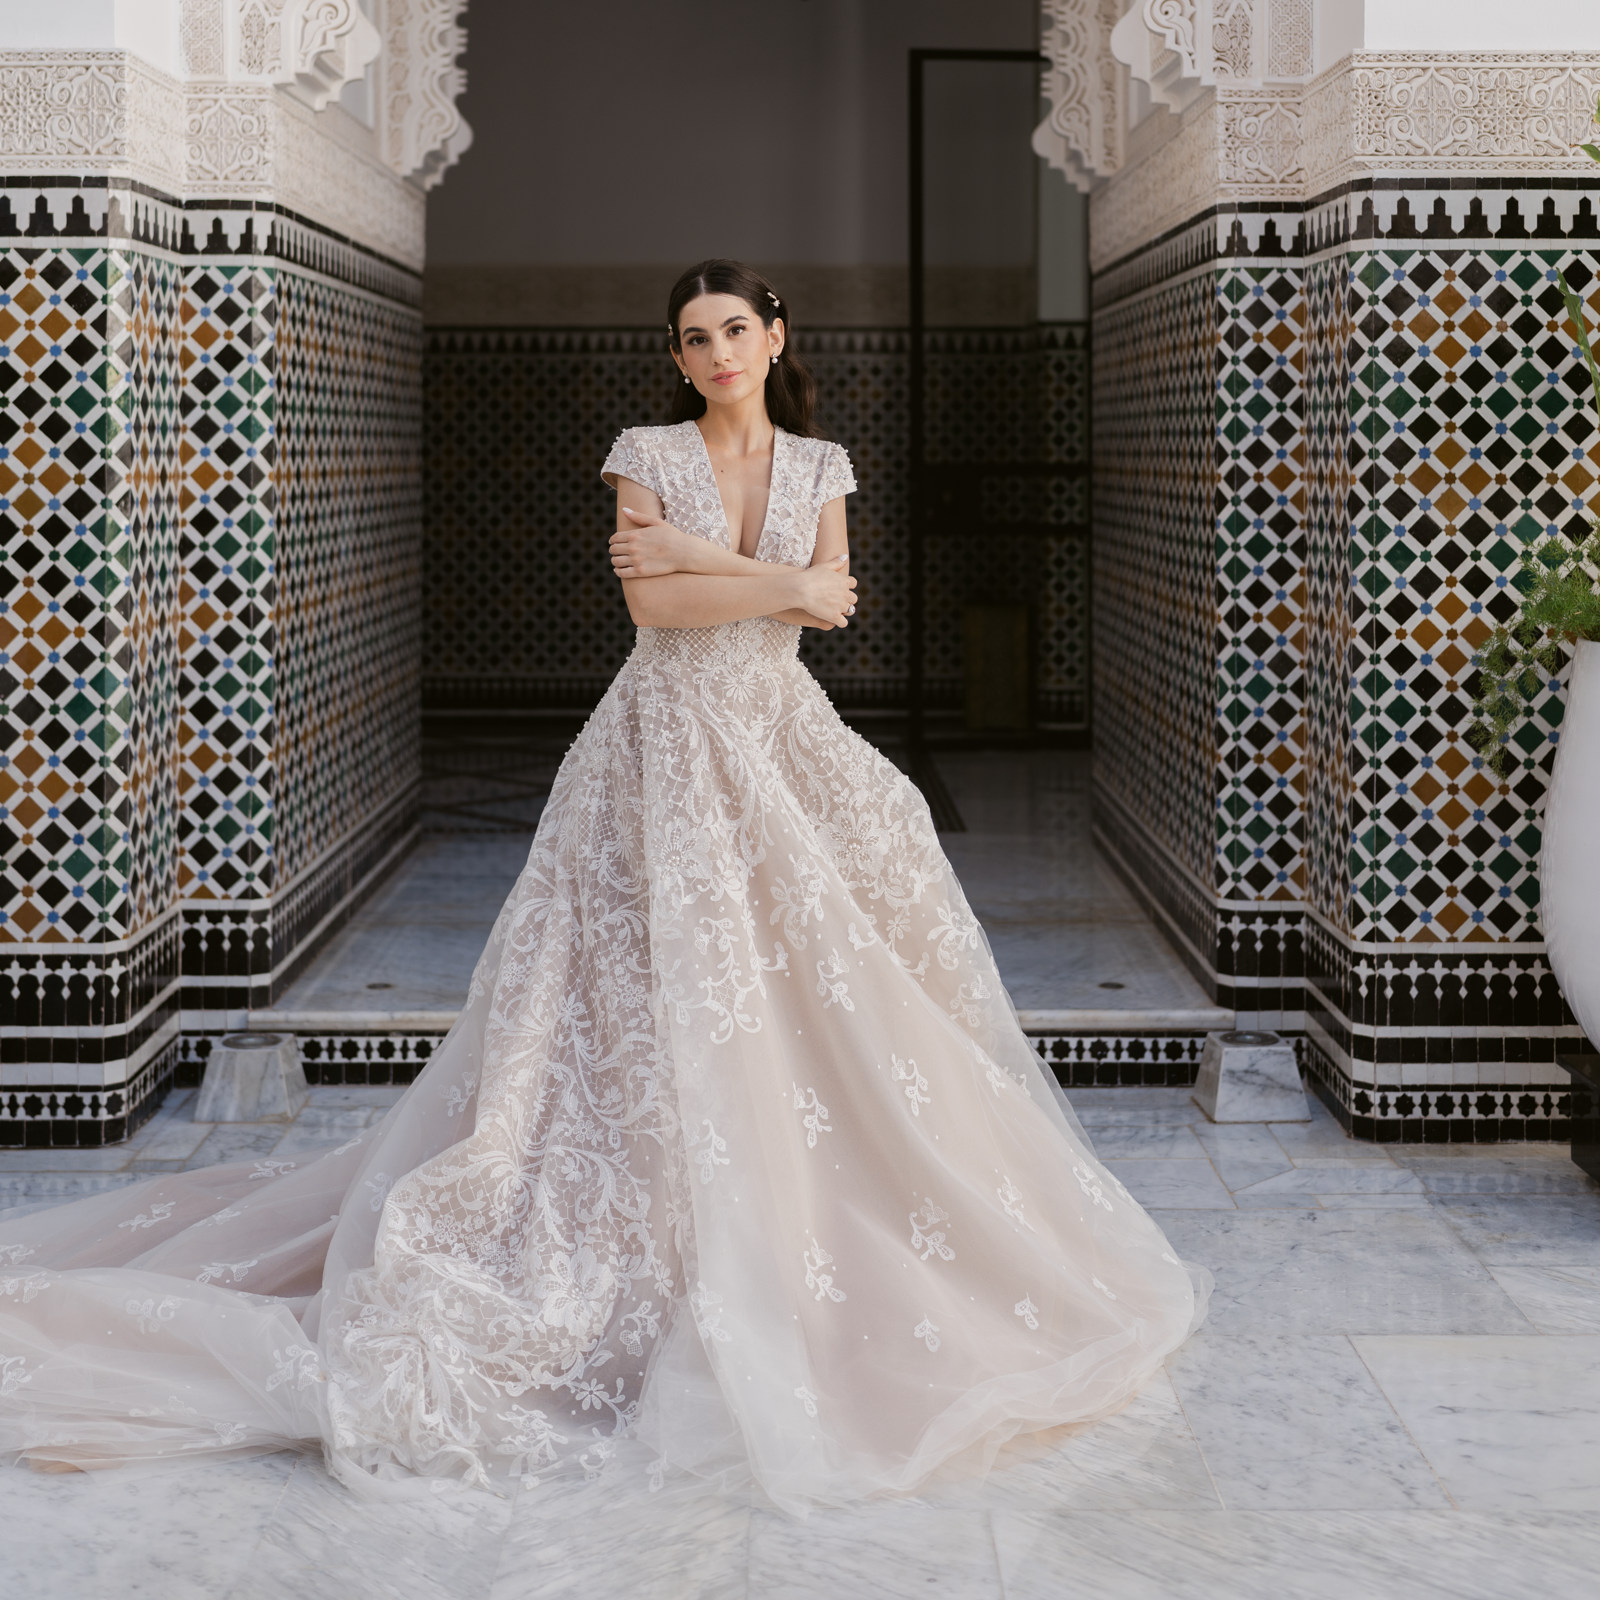
A very light and delicate Fuji Film based preset. Pastel tones, lifted shadows and a delicate warm highlight, soft cyan greens, and light color shifts.
REFINED II
Our cleanest and truest to color preset. REFINED II is not film based and has zero color shift
REFINED III
A film inspired collection rich with color and depth. Deep cyan greens, warmer skin tones and color shifts.
REFINED IV
True-to-life colors with an elegant, editorial finish. It softens strong hues while maintaining luminous skin tones and natural greens, making it ideal for weddings, portraits, and brand photography. With versatile options like low contrast, crisp whites, high contrast, and direct flash.
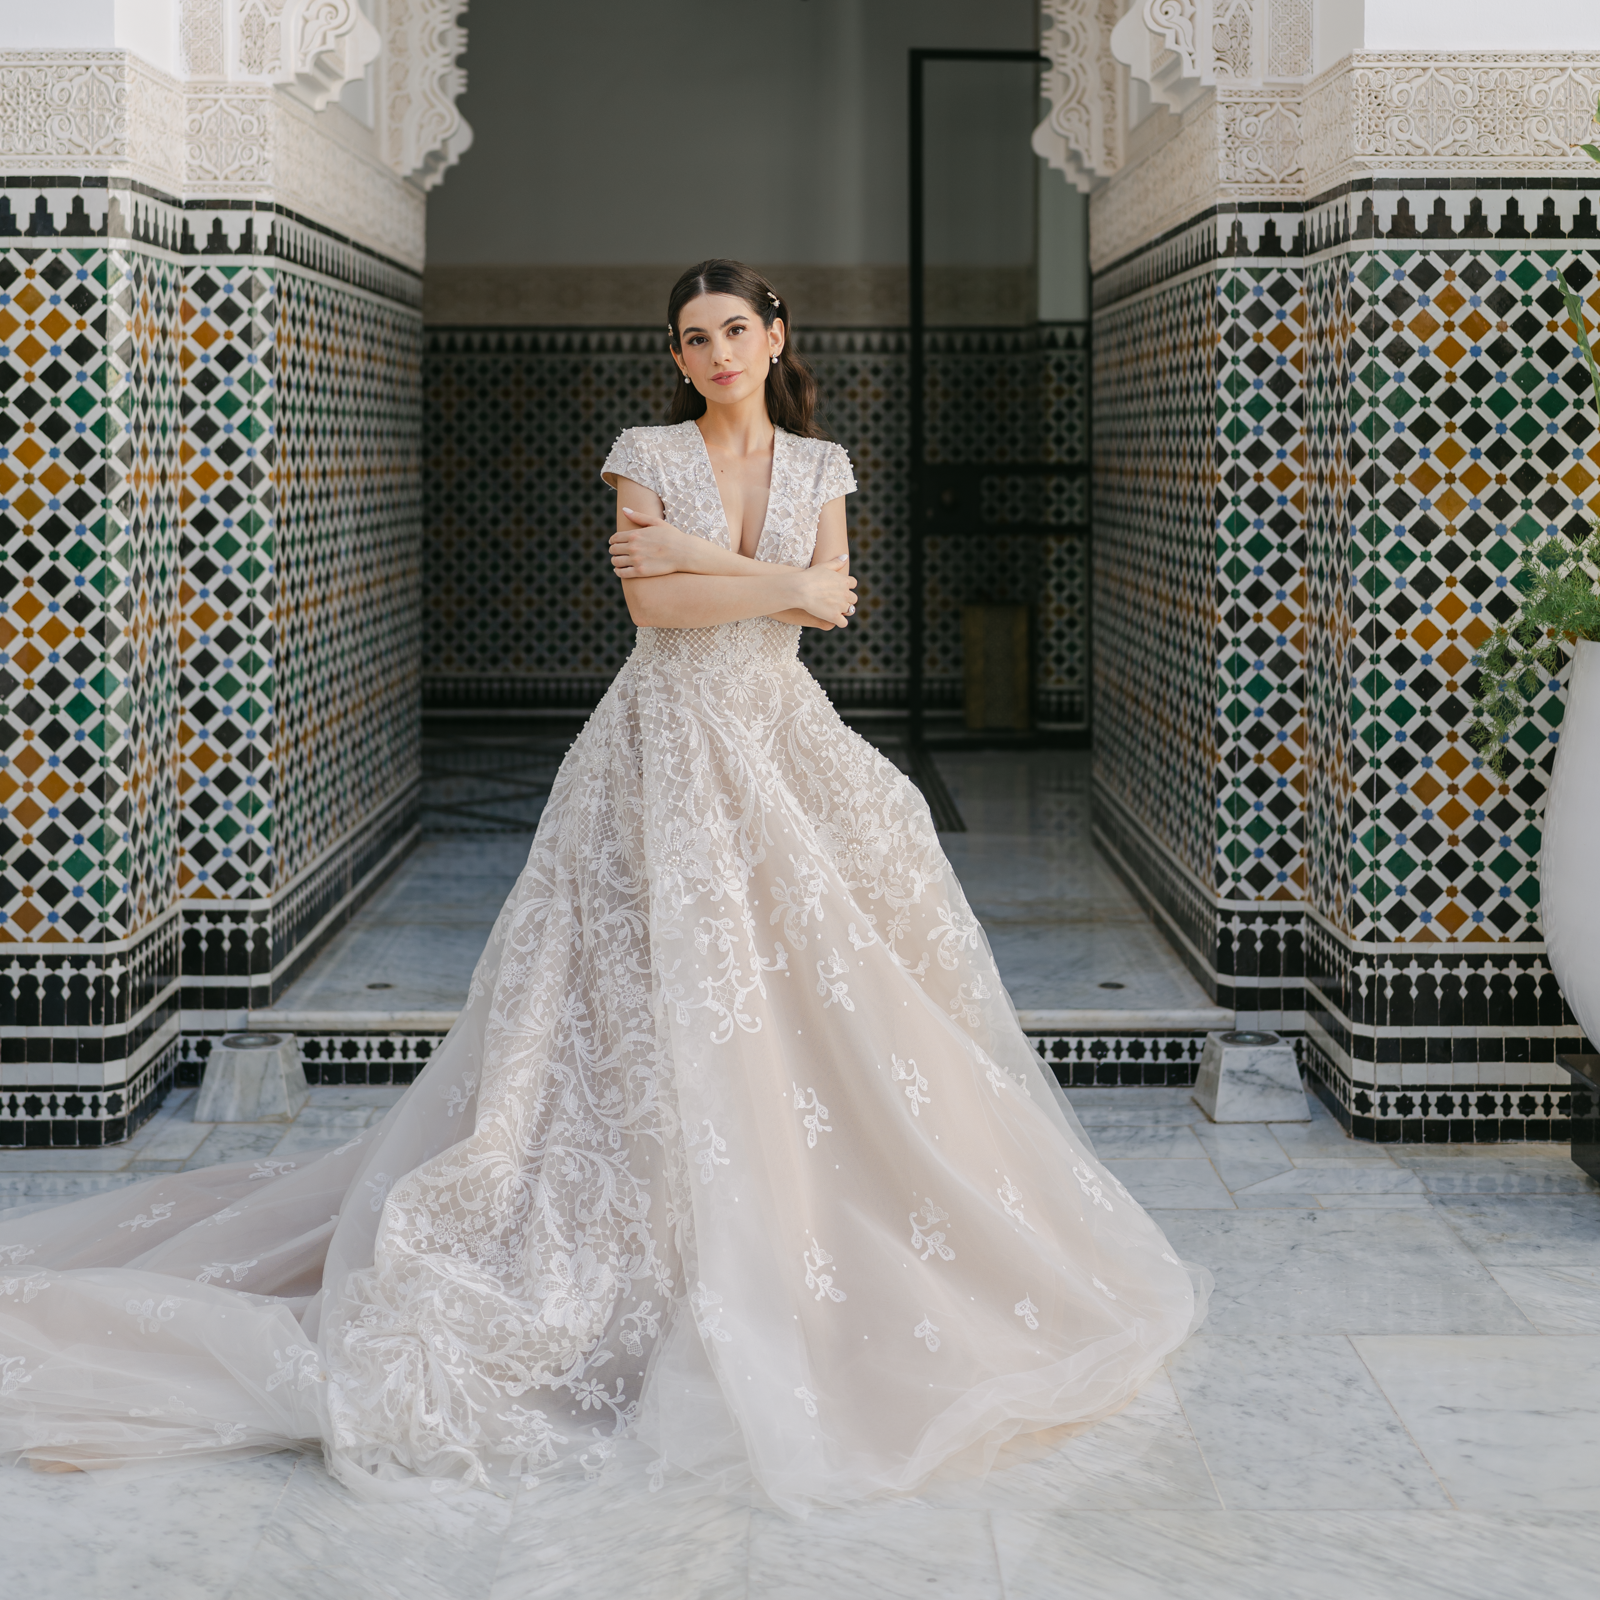
LET THE PRESETS SPEAK FOR THEMSELVES
Take a look at REFINED I
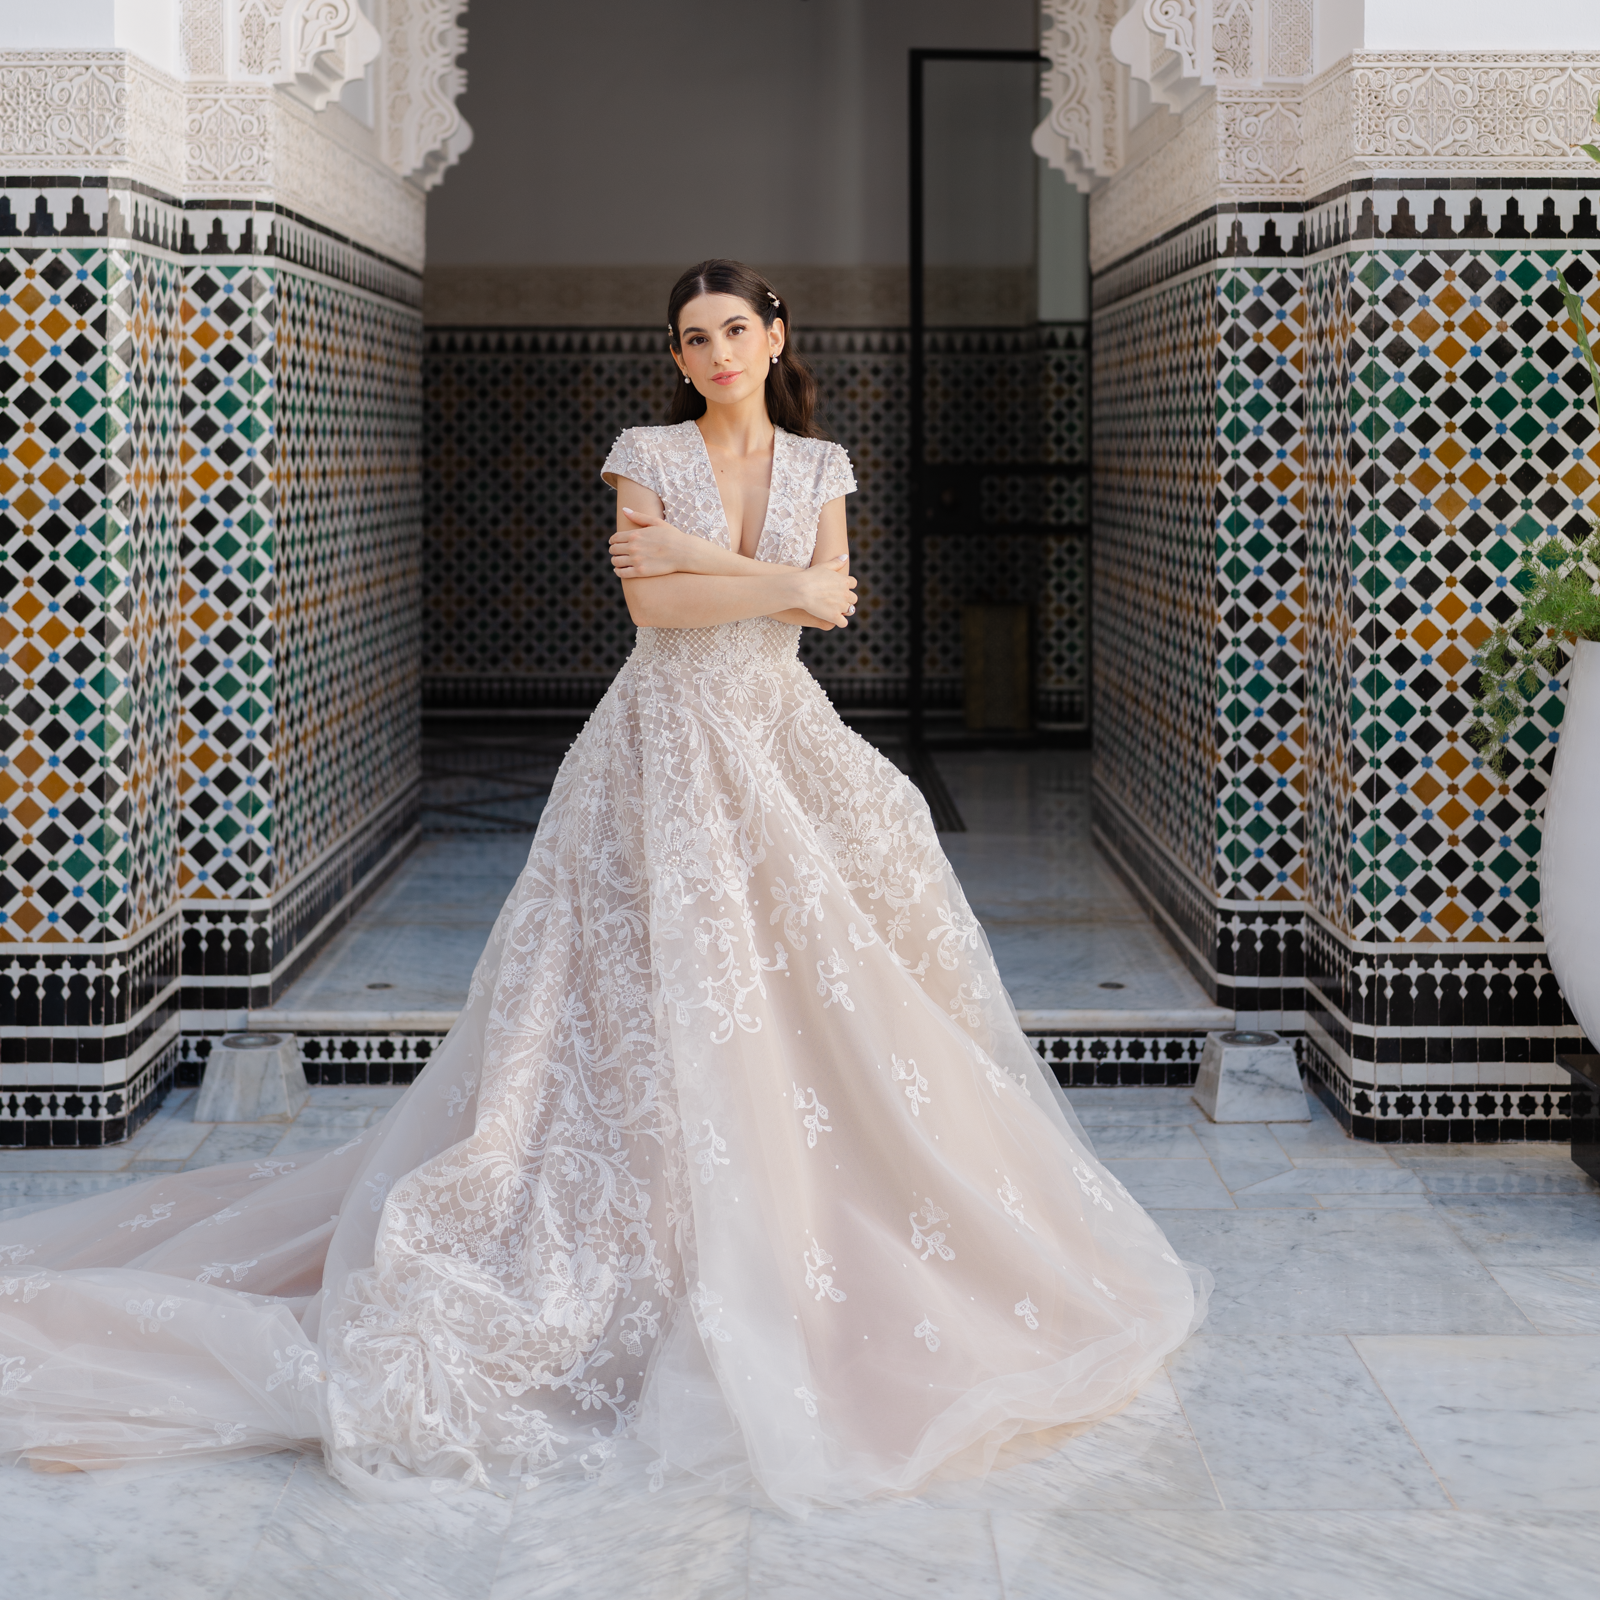
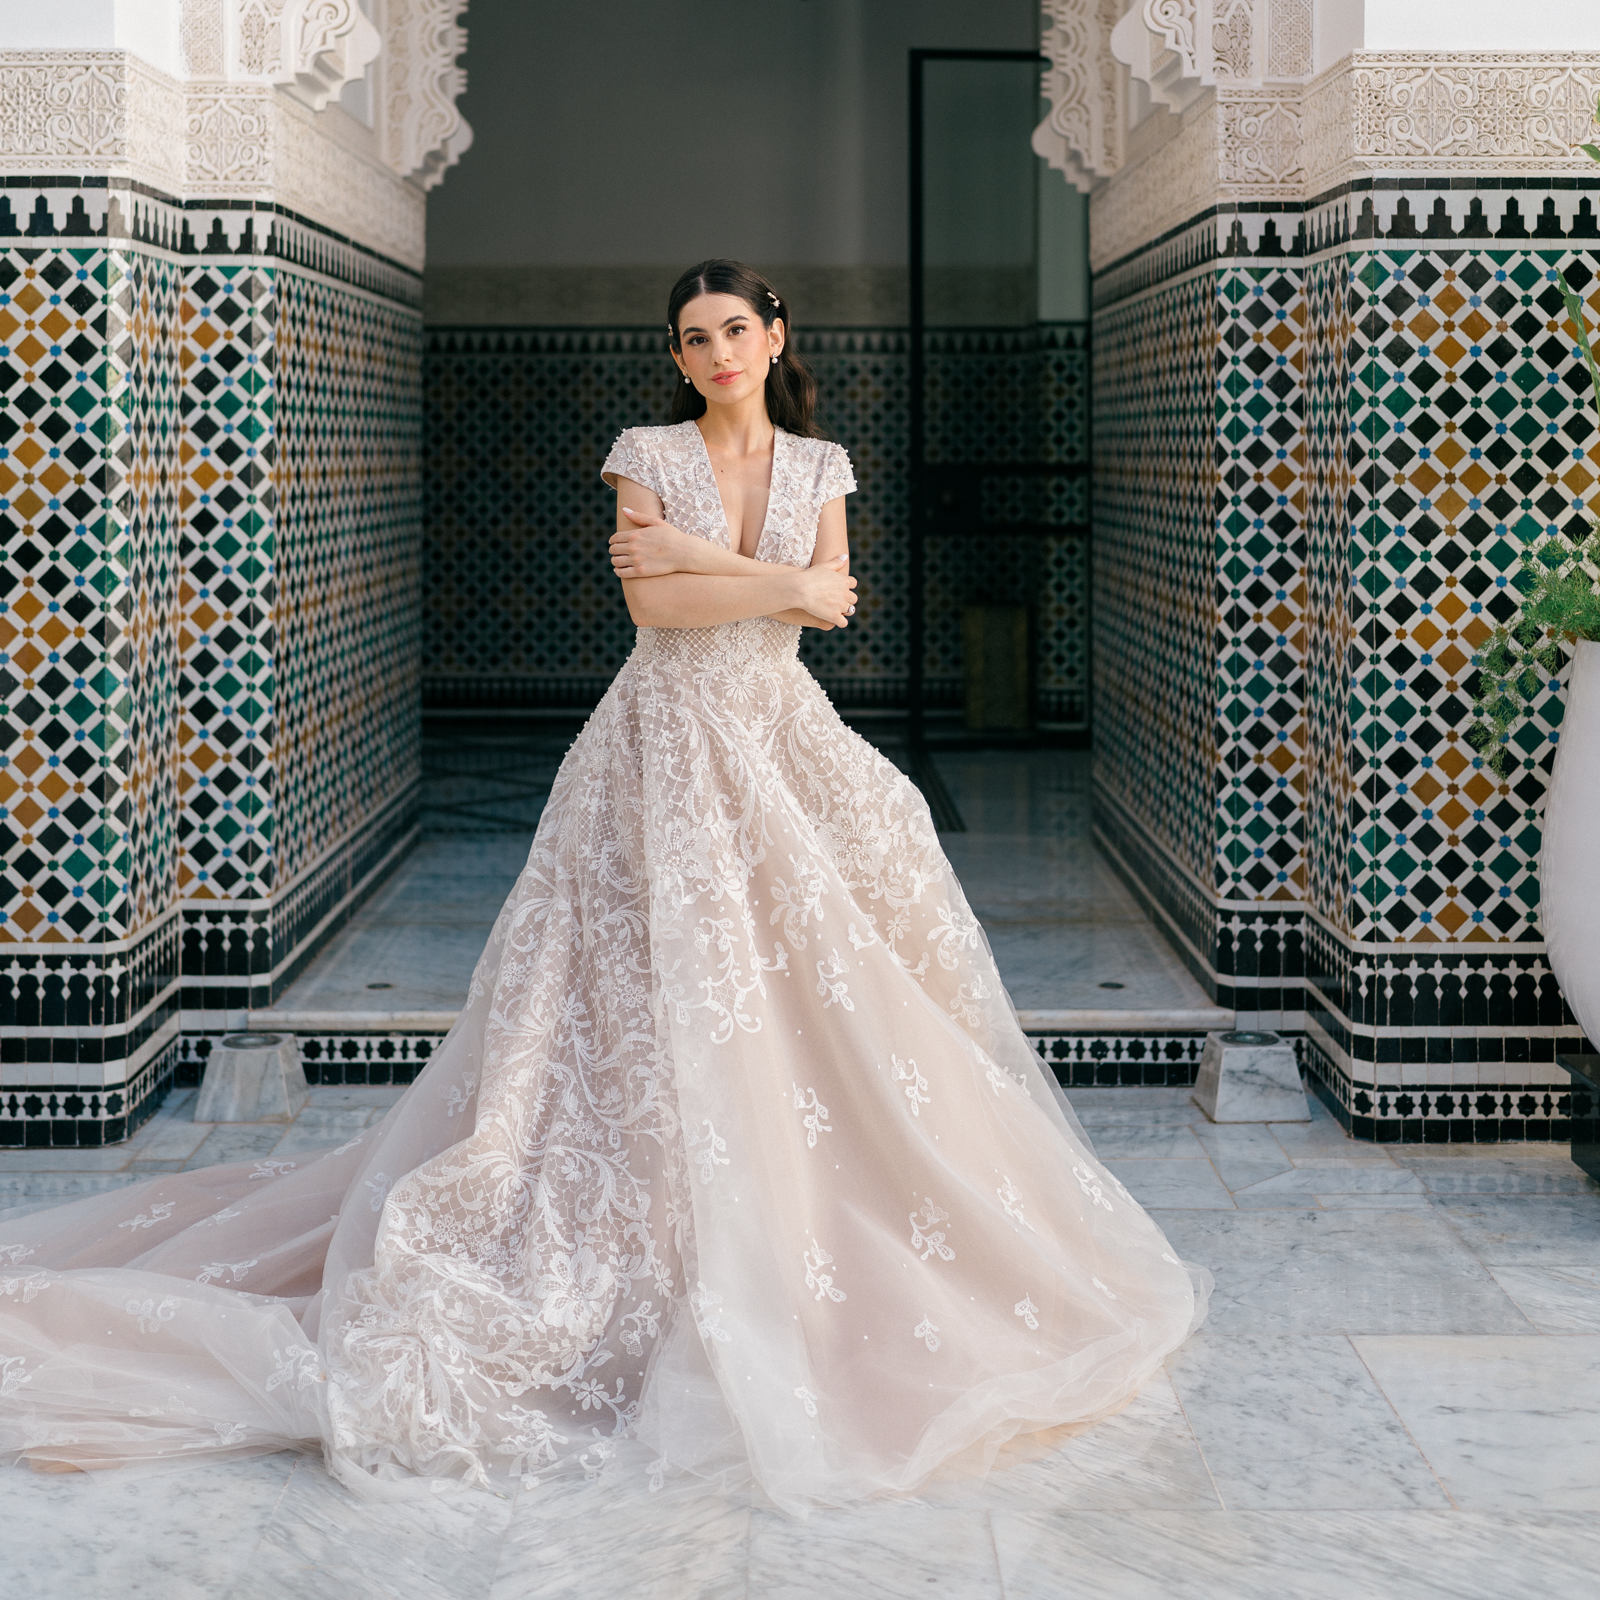
Select an included preset to try it out:
REFINED 1
REFINED I + Chateau
REFINED I ... (moody)
BW


Browse REFINED I in Use


LAUREN SHANNON


JOY JACKSON


JOY JACKSON

LAUREN SHANNON

DANIELLE HOBBS

RACHEL BOND

LAUREN SHANNON
As seen in


